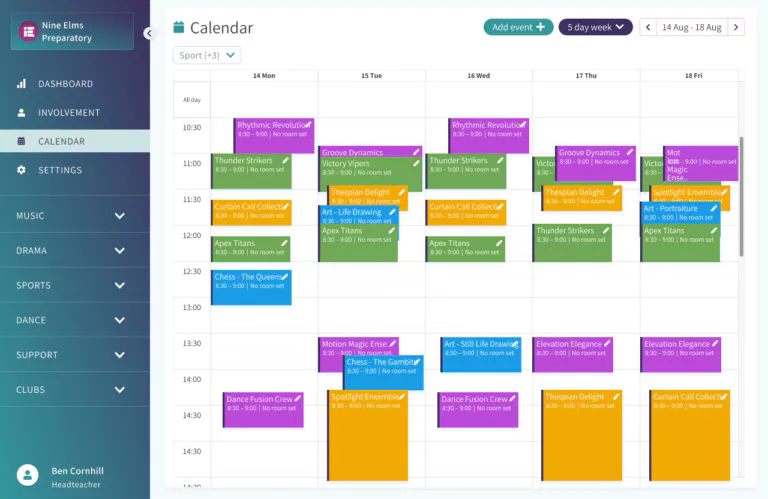
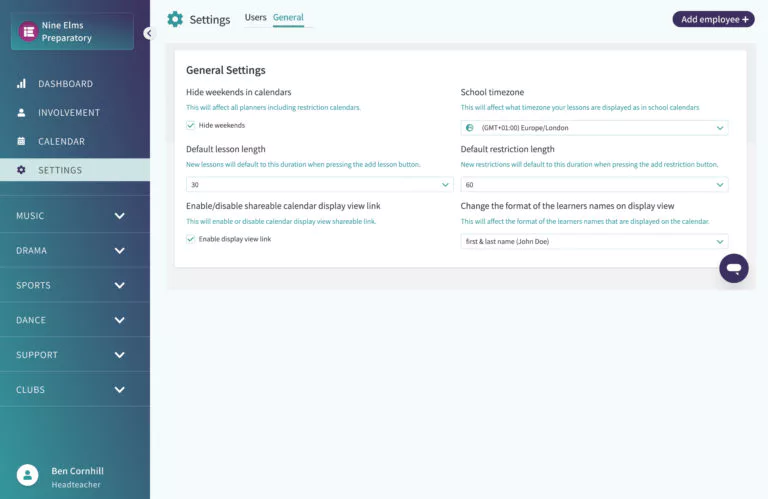
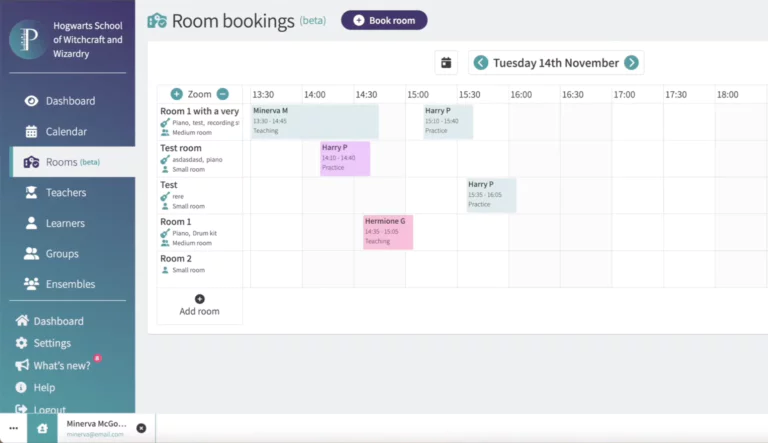
Pratice Pal Music is the music standalone version of involve. It works alongside your school’s MIS to reduce the amount of time, and headaches, spent on logistics and admin. Its intuitive design, created by a former music teacher and machine learning graduate from Cambridge graduate, uses the most advanced technology to streamline your team’s workload.


Mark individual and group attendance, set up unique codes and link to the billing feature.
Instrumental teachers can record the attendance of all their students, and teachers will be notified which students will be attending music lessons during their subject.
If a student does not turn up for their music lesson, teachers and administrators can see which subject the student is in.
Parents are kept in the loop with their child’s progress without manual emails.
Make accounting easy - visiting teachers can raise invoices with all relevant data imported.
Mark attendance, make notes and share attachments and media with parents and students.
Find every system we integrate with along with helpful setup guides on the Wonde website


Book a demo and find out how Involve meets all your school’s co-curricular needs
Request a contract with a customised monthly subscription rate for your school from our success team
Easily onboard with our success team who are ready to help you integrate Involve with your school Management Information System (MIS)